-
Ocean predict
My slides from Ocean predict 2024 symposium. My abstract about forecast verification was accepted and I gave a short – around 10 minutes talk.
-
AdaCon 2024
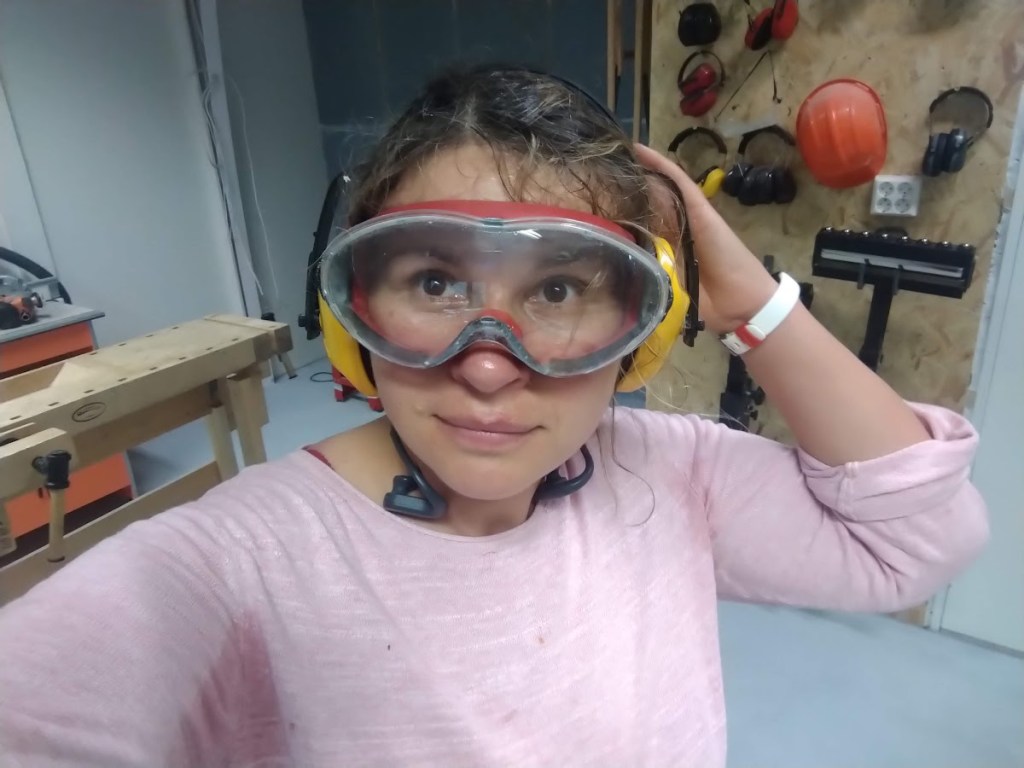
In autumn 2024 I was offered a chance to talk at AdaCon Norway. AdaCon are technical conferences that aim to “promote and empower underrepresented” groups from all backgrounds. The event is held on Ada Lovelace Day, which is the second Tuesday of October every year. The conference atmosphere was very warm, fresh and vibrating with life. The public was fantastic reacting with humor and enthusiasm. I also realized how much time it takes to prepare for a talk. Even a short 10-15 min tech talk that seems so effortless- its weeks of preparations and hours of practice talks. Not to mention having a nerve to stand up in from of 200 tech-savvy public and cameras registering smallest possible mistake.
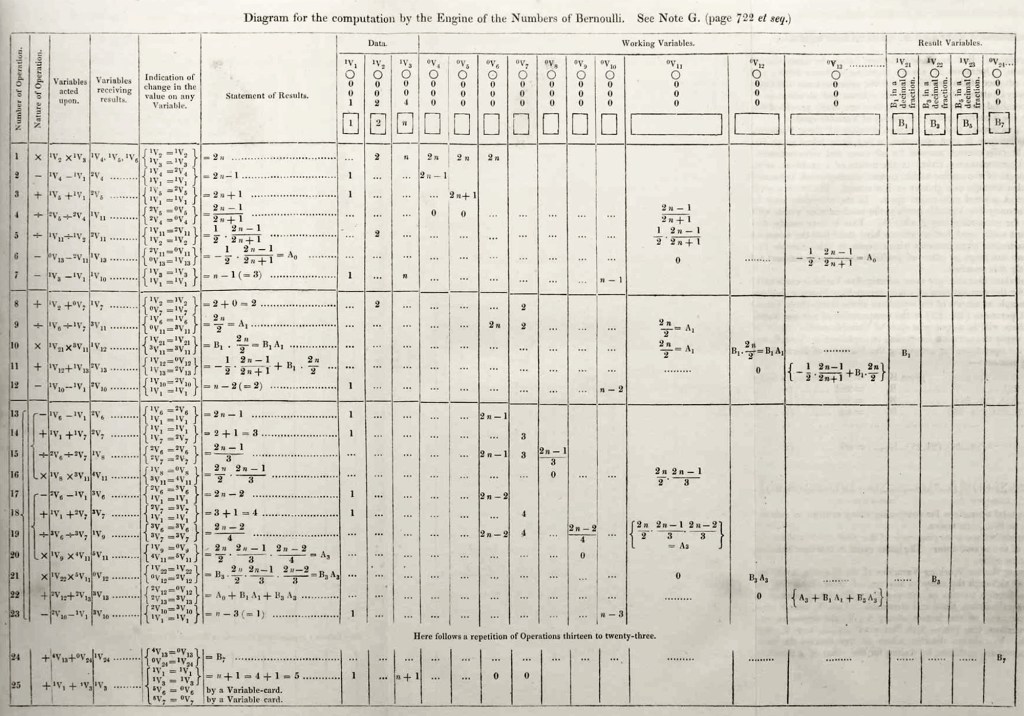
Ada Lovelace is believed to be one of first programmers. She is commonly attributed with invention of for loop. But to fully appreciate her contribution – I would encourage you to study her diagram for the computation of Bernoulli numbers – the diagram published in times, when Charles Babbage difference engine was still a “work in progress”. See also Note-G article.
-
Summer 2024
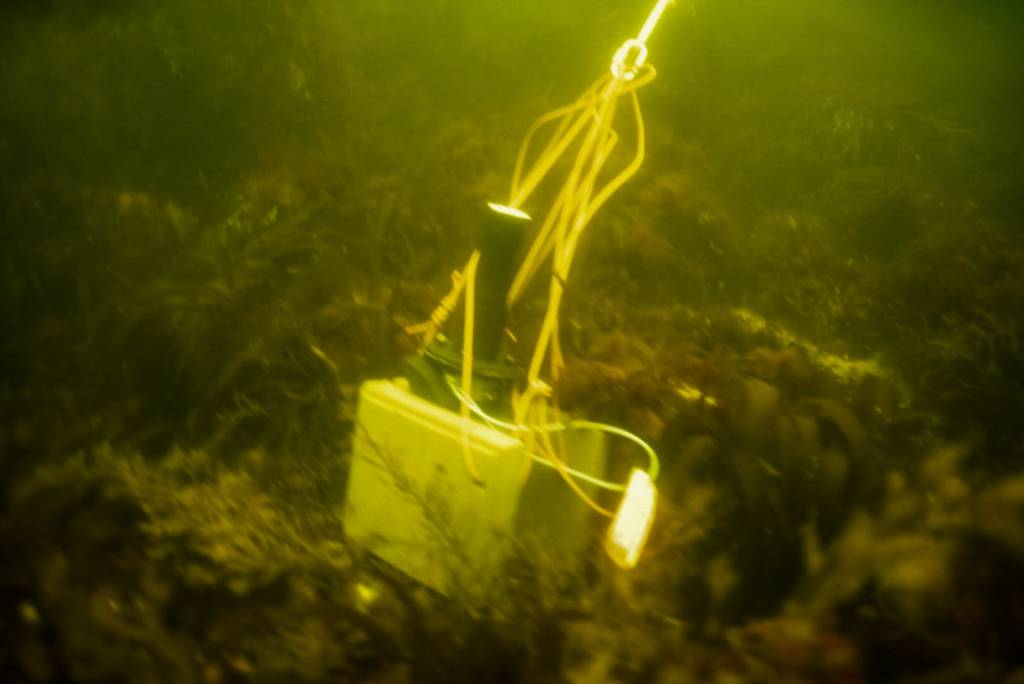
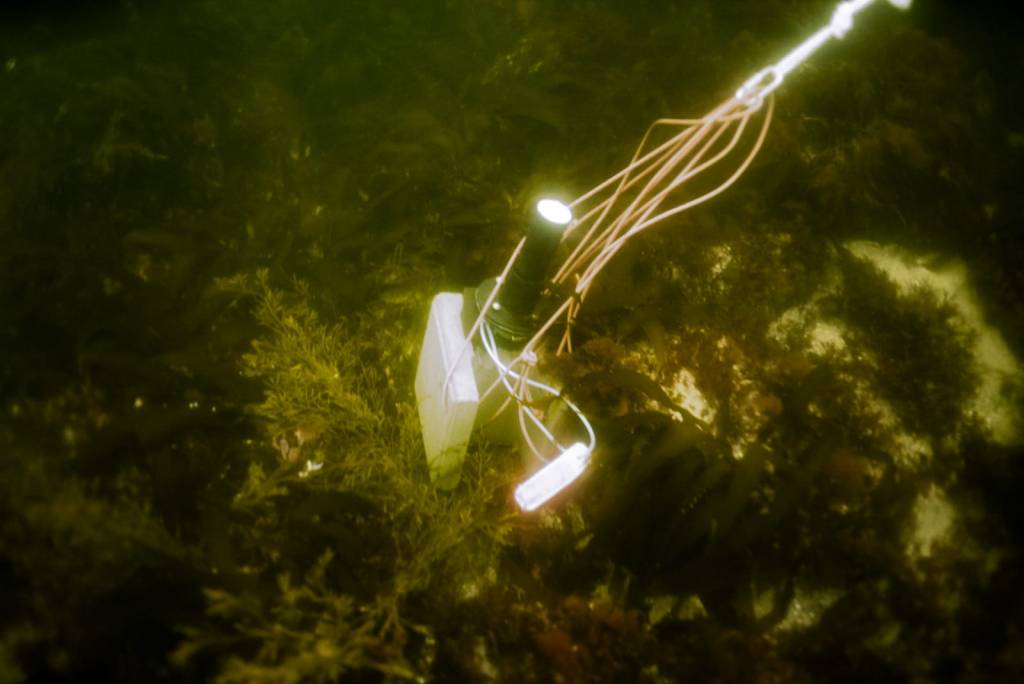
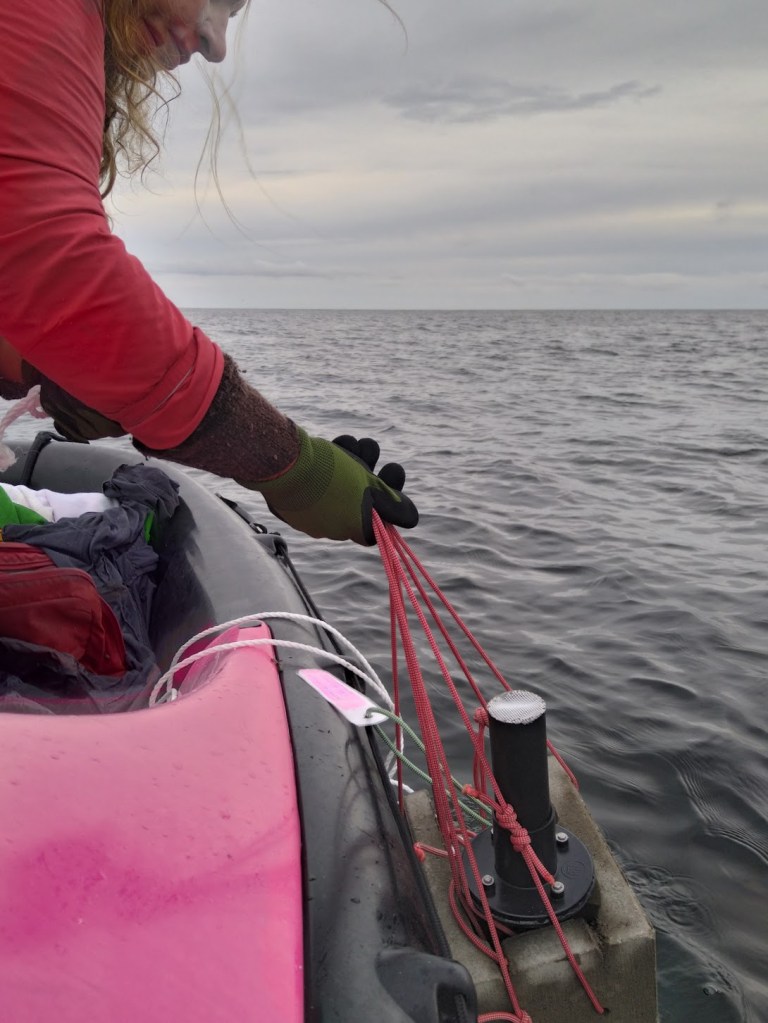
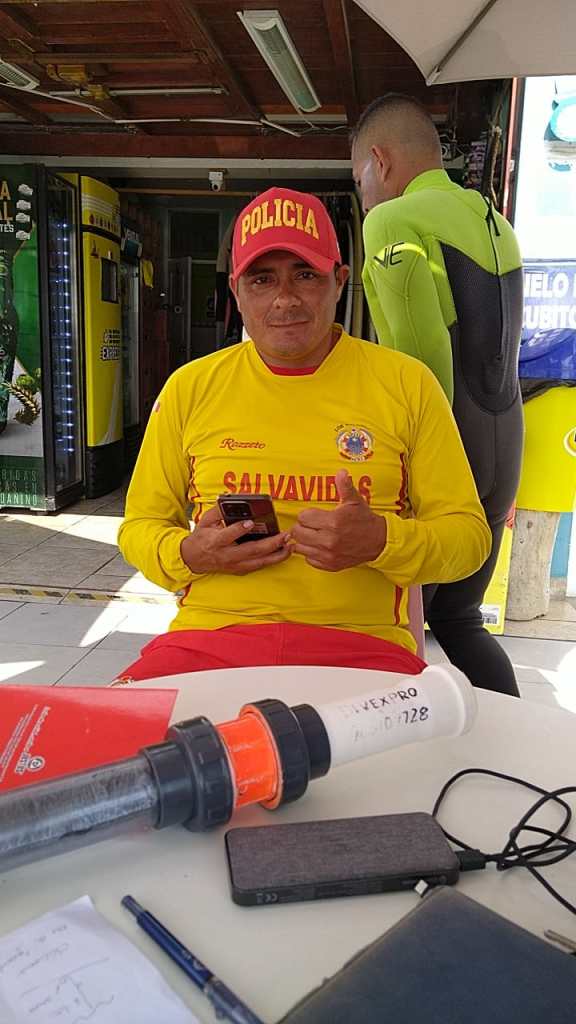
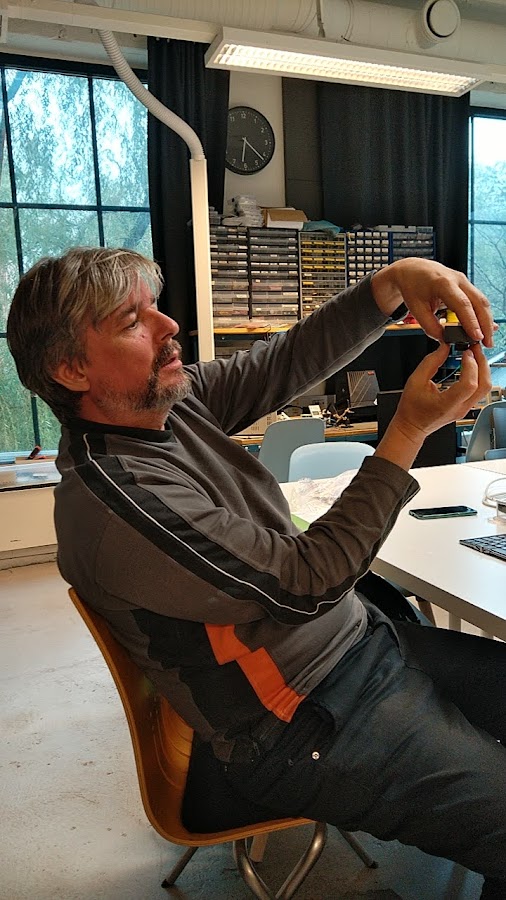
Place holder for a post about extensive test and final deployment of the sensor.

-
Chicama tests
The winter 2023 was very busy for me, but I managed to book a trip to see the famous Chicama wave in Peru, South America. The wave is famous for the longest unbroken front that can be ridden.
This post will be finished in December 2024
-
Portugal
University winter break was very short, but that was the only chance for me to test the device in actual ocean. I did not have too many time possibilities as it was now or after spring term exams in June. I bought a plane ticket to Lisbon and just before my flight the departure I contacted several diving schools. One of the guys at diving school recommended me Hugo a diver that was working on a submarine power plant.
My main goal was to make sure the device is useful in the actual real surfing spot. Portugal was an obvious choice since its very consistent and within single flight distance.
With Hugo we discussed deployment, I got plenty of advice on how to improve it (yes I will finally replace threaded connection with flange), and we waited at weather window….. which did not come. I came to Peniche during almost 2 week long storm. So we agreed Hugo will send the device back over the post.
-
University of Oslo
You can learn as much about the waves alone, and at some point to progress you need learn from others. Of course opinions are different but self-thought people who would master some knowledge, like really master are simply rare. I grew curiosity about university courses about oceanography and took me some time to figure out the possibilities of joining. I have discovered that one of the possible options were “Nordic citizens and applicants residing in the Nordic countries may apply to take this course as a single course student.“.
Figuring out how it all works in terms of administration was not easy but finally in August 2022 I was accepted as a single – course student. I got access to master level courses (since they are taught in English) and when I browsed through the list I felt like a child with a box of chocolates, and I could only pick 2.
I started doing courses such as “Geophysical data science” or “Numerical Weather Forecasting”. As part of courses we should do some projects – and that’s how I met Eric – an PhD oceanography student. We needed to chose the subject and to my surprise he also wanted to analyze tide data.
As a result we created:

norway tide stations dashboard
Oslo University created me possibilities I never dreamt about. We had access to very good and fast library – most of the books I could think of were at place. We had access to publications. Many teachers worked at Meteorologisk Institute – so I could actually learned from people who were working on forecasts.
One of the school projects I realized was about “What is a good forecast”, by A.H. Murrphy. I was surprised how little was written about it. Basically a good forecast is not just calculating statistical error. A good forecast takes into account negative or positive impact on people who follow it. Imagine good waves are forecasted, and you take a day off – only to come and be disstapointed. Or a bad day is predicted that turns out to be the “wave of the saeson” and you miss it. How do you handle the risk? Under or over forecast?
Marte was teaching us about handling chaos. At certain point I would also think, that due to chaos phenomena are not predictable, but even chaos is not random – has it patterns – in math called atractors. He thought us about ensemble forecasting.
At one of the semesters I could do the project of Wave verification. I was doing it with Anna (link). That was very interesting experience. I was surprised that it is not being done on regular basis.
Kai took us on Oslofjord expedition. We would go around the fjord, taking measurements of salinity, temperature, calculating Kolmogorov depth and observing drifing boys. One of my lessons was – the ocean is vertically stratified. Salinity varies a lot.
That was all on geoscience department. One day i typed “waves” in the course catalogue. I found “Hydronamics theory of water waves” at mathematics department. I went there and was very shy. You see I had a degree at computer science - and I fast recognized how much math I miss: vector analysis and partial differential equations – were the most painful gaps. Suddenly I had to somehow learn it all overnight. Of course its not possible – but one needs to start somewhere. There were days when the amount of knowledge was overwhelming, when I felt its too much. Doing Easter obligaroisk took me … Easter. I was slow and rusty and annoyed with myself. Yes, I asked for help, I took private lessons over skype – and it helped, but it was still not enough. I decided – there is no point in taking exam. I withdrew.
And that was one of the moment that I got to know a bot if Karsten. Karsten is one of the teachers, who somehow motivated me. It turned out that I can be still put back on the exam – you just go 2 floors down to administration. I asked for last possible date – end of June. And I simply scarified the summer.
Each afternoon after work I would bike to the Sjolyst Marina and study. I new the scope of the exam, and I set at the pier of the marina doing math. The exam was oral, I passed.
Next semester was in 1.5 months. Numerical methods for PDE, non linear waves.
to do finish me
-
Salt water – what could possibly go wrong?
There is a difference between swell and surf. Surfers know that only some beaches break, and under some conditions. Geeky surfers know that it depends a lot on the bottom: the shape itself vs what the bottom is made of (sand banks, coral reef or rock?, it makes a difference). To make the surfing forecast is not enough to have accurate incommoding waves and wind forecast, but
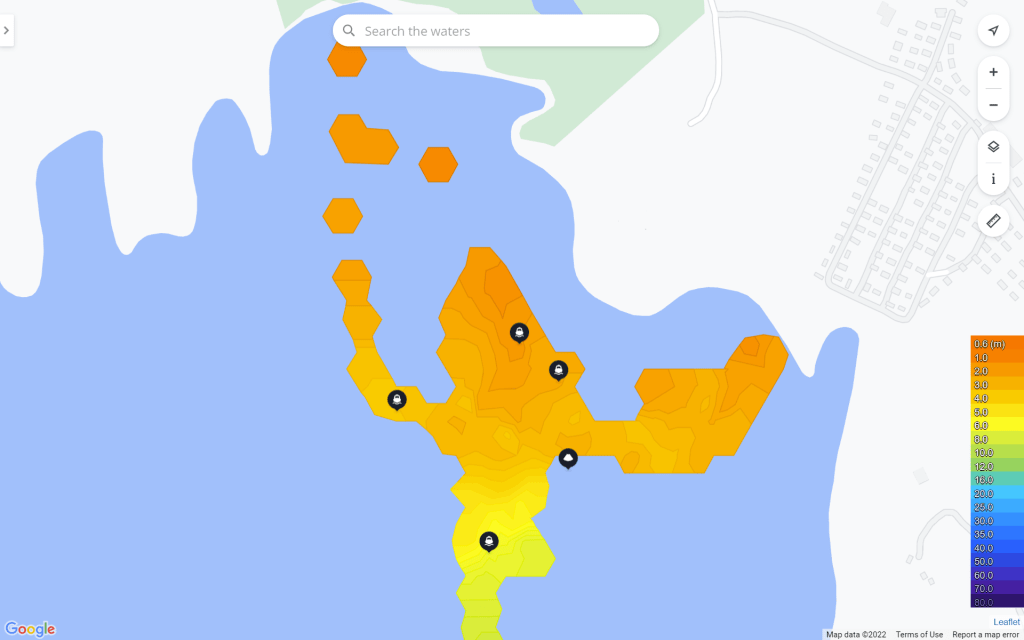
But how do you know that?You can read from the map – easy. When you open the maps, the resolution would be around 1 m or less. Not detailed enough for any decent forecast. Back then I did not know that for national security reasons detailed maps of the bottom are not published – the law regulates it. There is another option. Stefano – an Italian guy with who we quarantined together when we both got corona in a surf hostel in Portugal – taught me about figuring out depth based on satellite pictures. You choose an image taken on a sunny day, with possibly no clouds. It’s possible to figure out the depth of water just by judging the shade of “blue”. Observed from space shallower parts of the ocean are lighter, and deeper is darker. To get precise numbers one needs a “color map” first. A color map is a scale – where in this case different shades of aquatic blue correspond to depth.
Of course, this method is as good as the bottom is uniform, but that’s another story. From a work friend Andy, I borrowed a fish sonar and I decided to measure the bottom this way.
I spent two wonderful days kayaking, doing measurements, and taking pictures. I used a cat phone, which was waterproof, but I still was ultra-cautious about water, so the phone was packed in a plastic zip bag. There was one moment when one spoon of salt water got into the phone’s extra plastic cover – but the phone was working well so I ignored it.
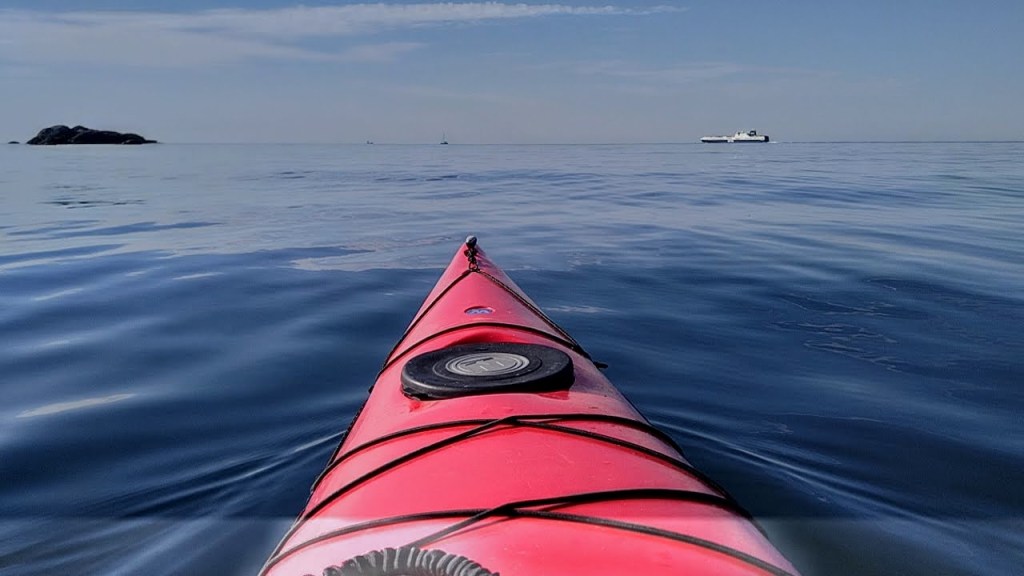
View from my kayak when doing measurements Until I came back to the car and tried to recharge. The phone full of data would not charge and it was already only 4% battery left. In a hurry, I uploaded as much data as I could till the phone finally died and I was left feeling helpless.
So what happened? The phone was waterproof right? Yes. But there is a BIG difference between waterproof and salt waterproof. The video below explains it very well. You see saltwater obviously contains salt and “dirt”, making it more conductive. This saltwater layer can act like an extra cable – connecting elements that should be isolated, and if you are very unlucky, creating shortcuts that could destroy sensitive parts. Moreover, salt water is very corrosive – will turn metal (think about metal charger parts) into rust – a thin layer that will prevent you from charging.
That made me realize I was doing all my tests wrong! I was testing for the leakage using tap water! Tap water i s n o t saltwater.
This is a good video explaining water conductivity I was lucky this time. I had smart friends who gave me good advice and after flushing my phone with alcohol and storing it in rice – it woke up. The speaker was damaged, and the charger would charge only on one side, but it worked and all my data was safe.
The whole experience made me realize: I was doing all my test wrong! I underestimated how strong and damaging salt water is! For all my leakproof tests I did use fresh, tap water. The rubber elements can be fine with tap water, but salt water is another level. I decided I need to take simple buckets of ocean water and test it in conditions as real as possible. Salinity is a fancy term for “how much salt is in water” – it varies in waters across the globe, and it varies with depth and season. To make your test really realistic – I should use possibly ocean water, extra saltier. This step would be necessary to make sure the device is really TOUGH. In addition, I was considering covering my electronics with an extra layer – just in case some water still gets inside. In most simplitic case – simply several coats of varnish can actually protect the electronics from few drops of salty water. In more serious case – conformal coating would be needed. The main point was to prevent possible shortcuts that could burn some elements.
All those considerations proved to be actually valid. I was testing the device in various conditions – one day few droplets actually got inside. I only needed to replace the power cable – all 3 boards survived – due to what I believe extra coating
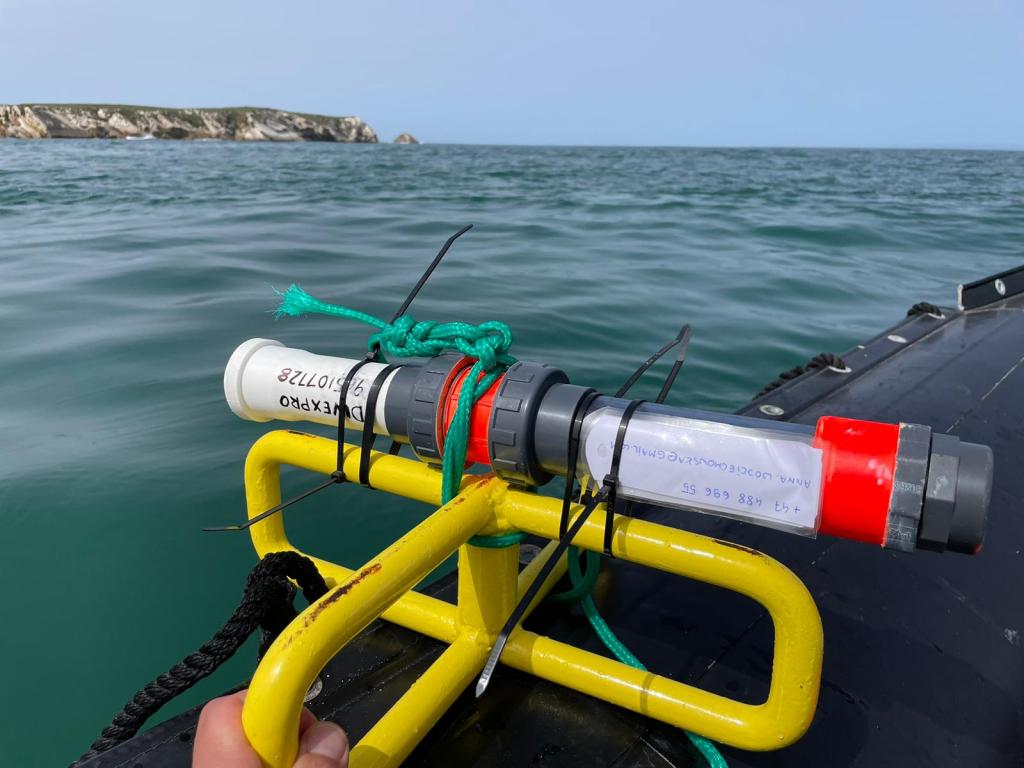
But being watertight is one problem – another is pressure resitance. The device would be deployed sever meters under water. The pipes I used were conforming standard – PN-10 or PN-16 thus withtanding pressure of 10 to 16 bars (roughly 100-160 m depth).
Another weak point that I wanted to eliminate was thread connection. Flange are much more prone to pressure. That’s the advice I got from a Portuguese diver Hugo.
atutaj add sateliate photo
-
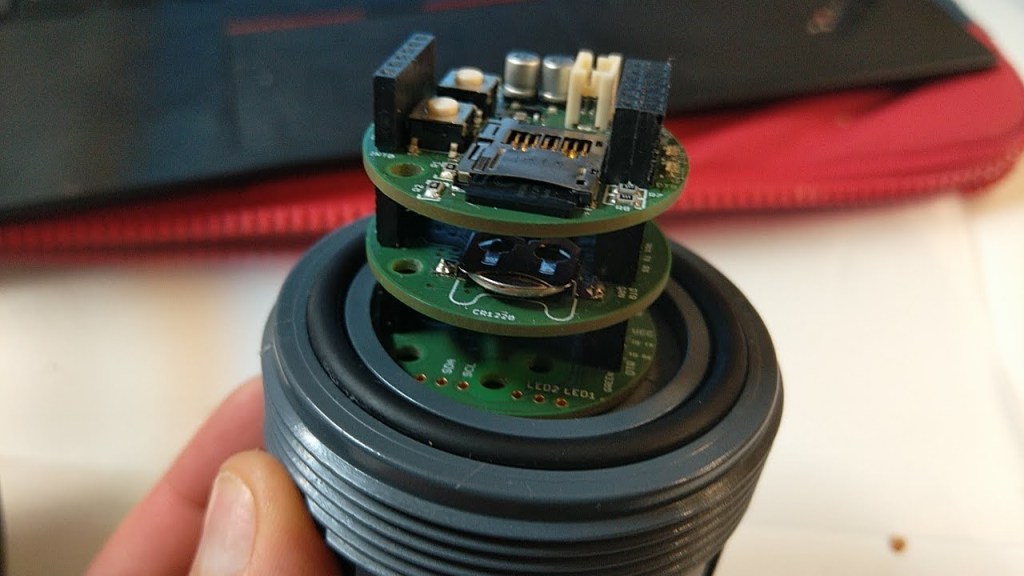
Getting it all together.
It’s the 25 of July, a rainy Monday, one of those clouded, foggy, rainy days in Oslo, that makes you question what am I doing here. Bitraf is almost empty and silent, it does not feel like summer, but it does not feel like fall either.
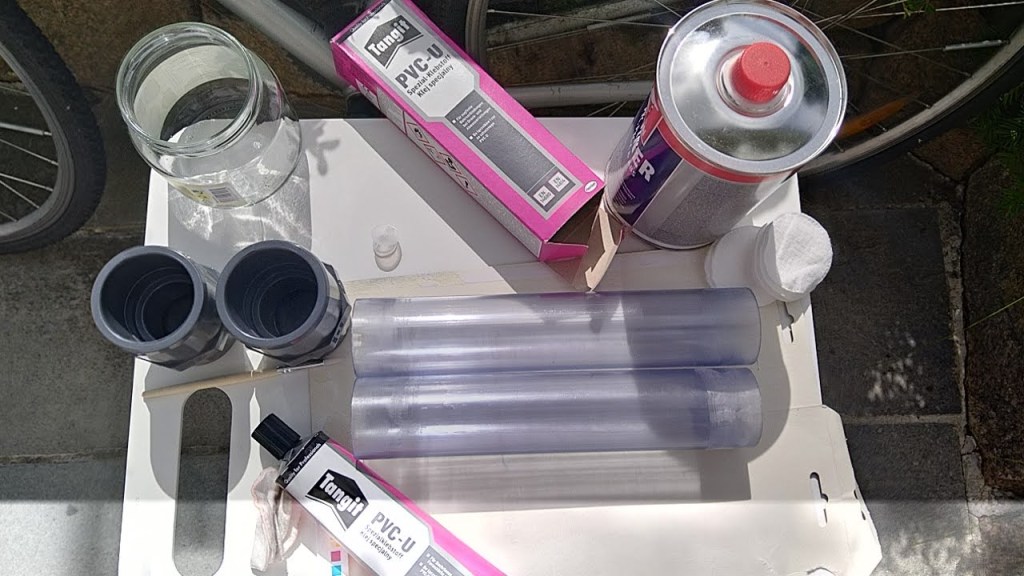
A month ago I needed to take a break from working on the wave logger, it stopped being fun and started to be an energy-draining project. I came back now with a new energy. The moment I made sure that the electronic parts are working I hoped it will be basically just going down the hill and I hoped I will finish fast. I was wrong. The shielding was more complicated then I thought and I had a very vague idea how to do it. You see the project was originally designed by an American marine scientist. As American he used parts of sink plumbing as shielding available in American stores. Not everyone knows that the United States and Europe differ not only in the metric system but in piping sizes as well. Standard diameters of pipes in the US are uncommon in Europe, and we do not have Home Depot. Unlike electronics, this part of project requires complete redesigning. In addition, since the device will be submerged, I wanted to use the see-through pipes. It seemed priceless to me to have the possibility to have a quick look and assure myself the electronics inside the logger were still dry. Luckily I found a friendly swimming pool gear shop, and after a mail exchange, I bought 2 meter see-through – pressure-resistant* pipes together with glues.
The important part about the pipes was it resistance to pressure. The producer claimed that the pipes were PN10 certified (thous being able to withstand pressure up to 10 bars – 100 m depth roughly). That was the reason why I bought them from them. But one need to also keep in mind “pressure differential”. The pipe is designed to withheld pressure from WITHIN inside of pipe, while my usage is the case of pressure from o u t s i d e the pipe. The risk would be an actual implosion. But since the pressure is considered to be isotropic, I am not sure if this concern is relevant.
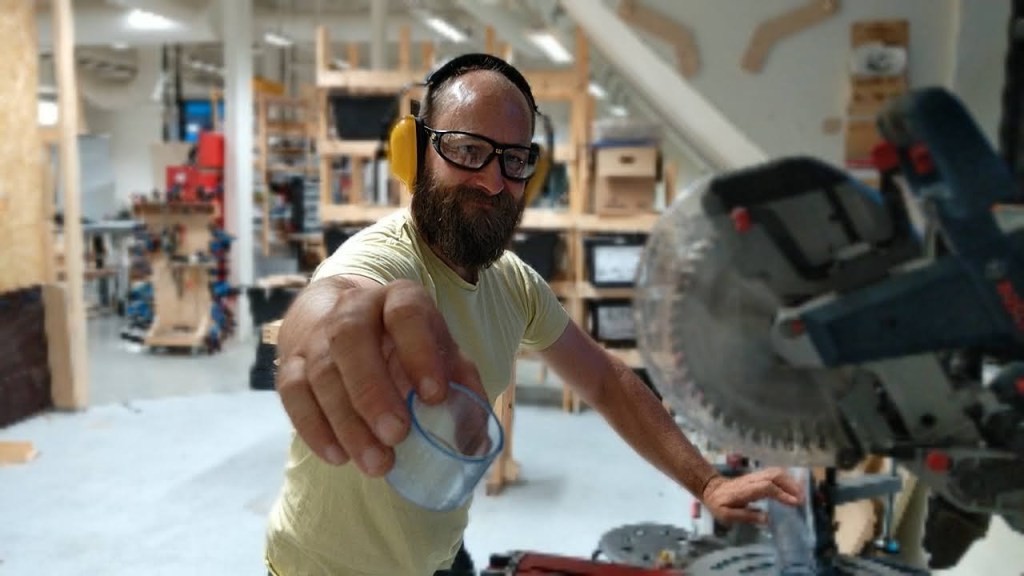
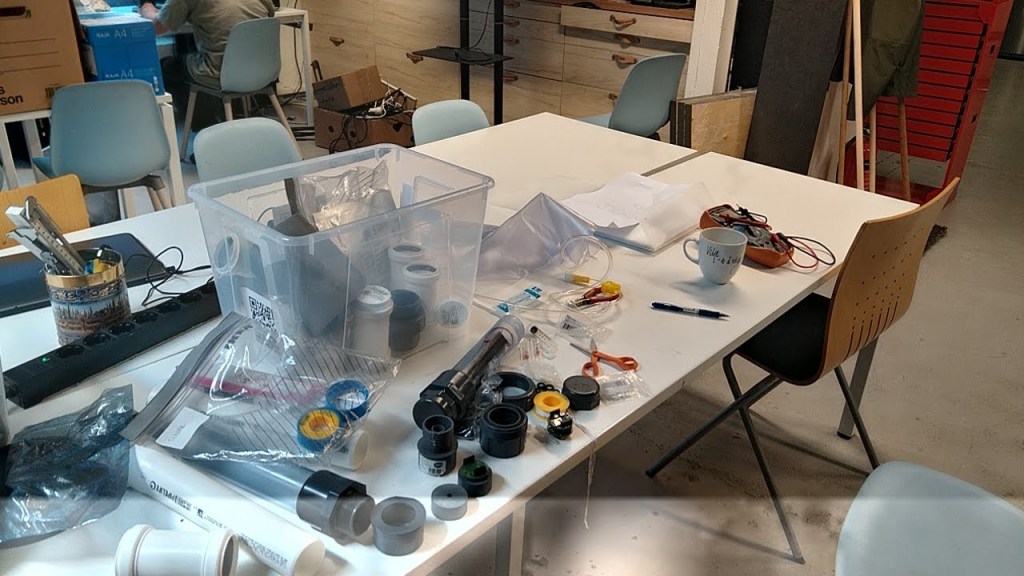
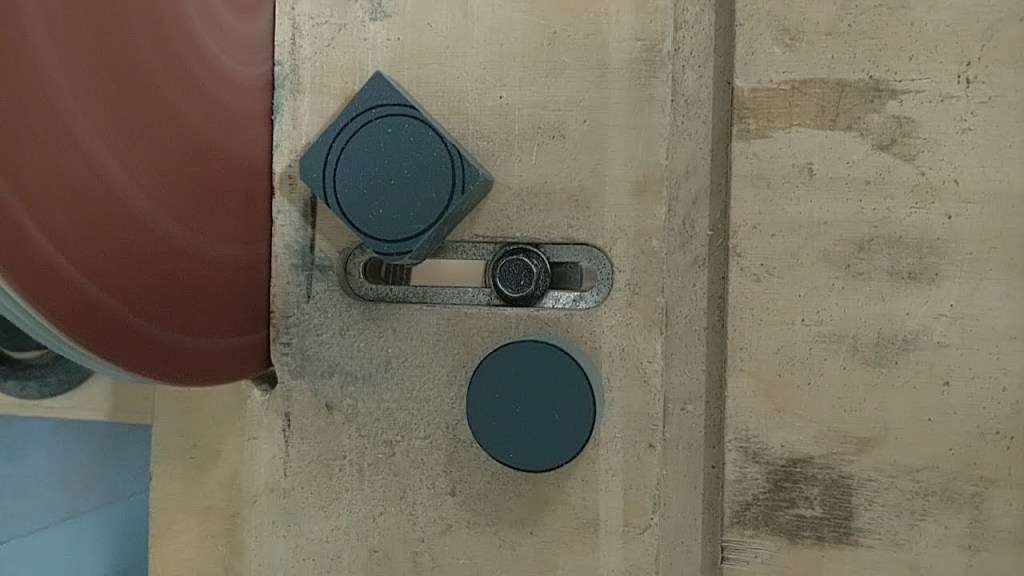
Next, I started with all the necessary – cutting pipes, gluing, making sure things were waterproof, sanding elements, and so on. As usual, Dag gave lots of priceless advice. I met a new person – Nikolai – the cut master.
When all parts were cut, sanded, and matched you could think that finally, I came to an easy part, but the devil is in the details, and wave logger was not an exception. I needed to order barbed fitting to connect tiny parts – they would come in the wrong sizes, if I would contact the seller – they would answer the 1 mm variation is normal. 1 mm is what can divide you from working to leaking and broken device, in this case, every detail counts.
tutaj add photos of barbed fittings
-
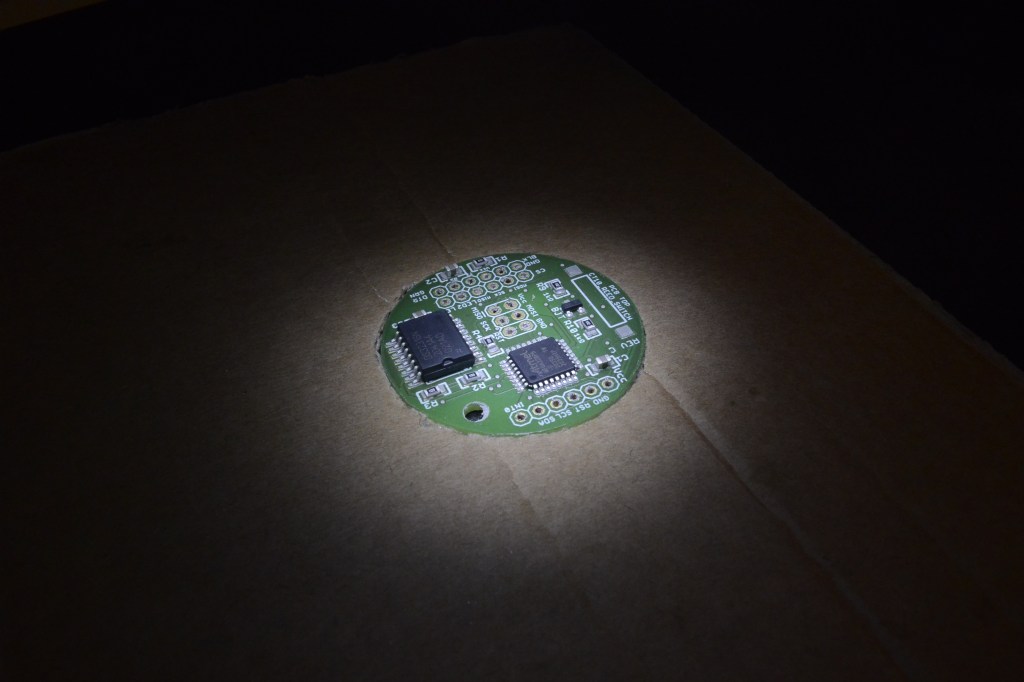
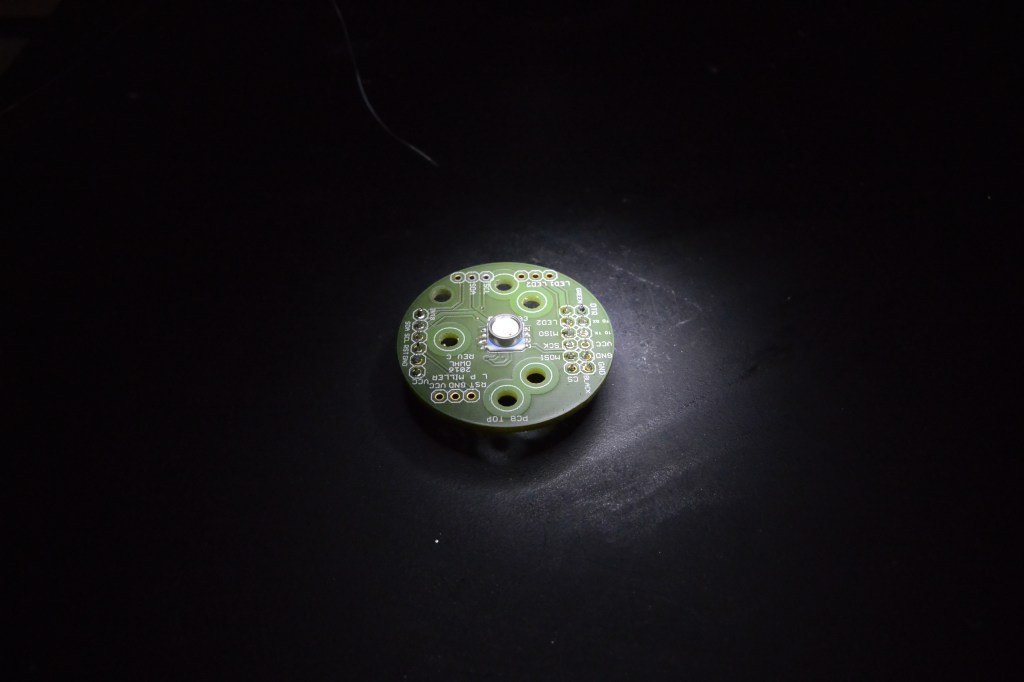
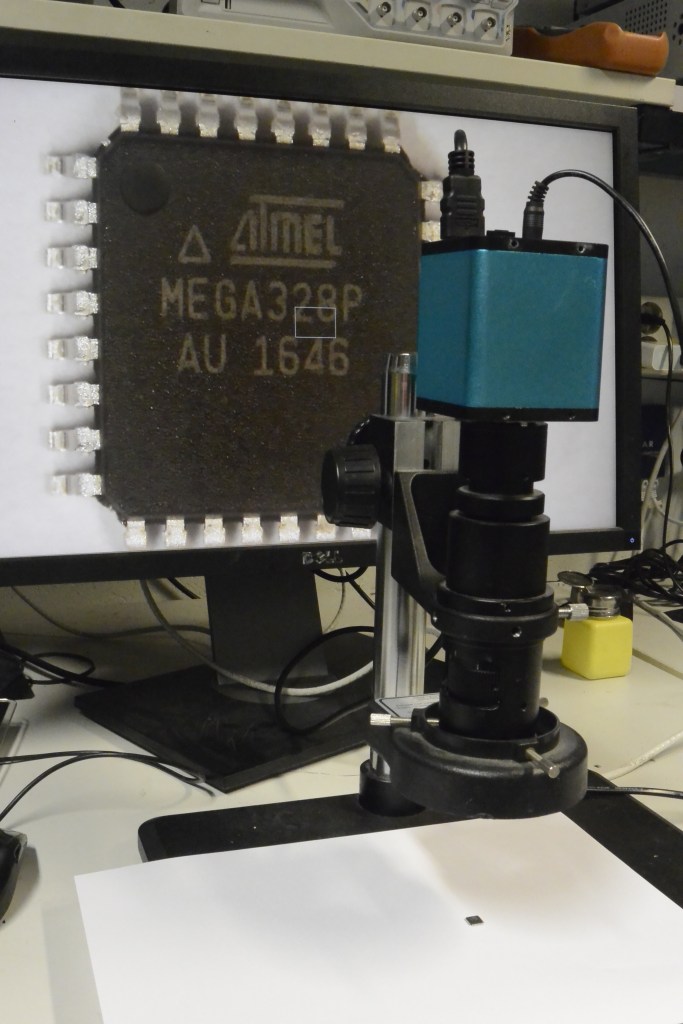
The atmega story
The wave logger required a processing unit to manage the pressure reading, timely organize the reading with a timestamp and finally save them to the memory card. You can think of it as the “CPU”, the “brain” of the sensor. The already 7-year-old project was based on the once very popular ATMEGA 328P MCU, that back in its golden days could be found in many Arduino boards. The chipset world is developing so fast, that by 2021 the Microchip company was no longer producing this atmega, and the leftovers could be only found on some e-bays and some less known mostly Chinese distributor pages, usually with very little to no technical description. I took the risk and ordered atmegas from 2 different eBay users (hoping that one must work) and I proceeded to assemble the board.
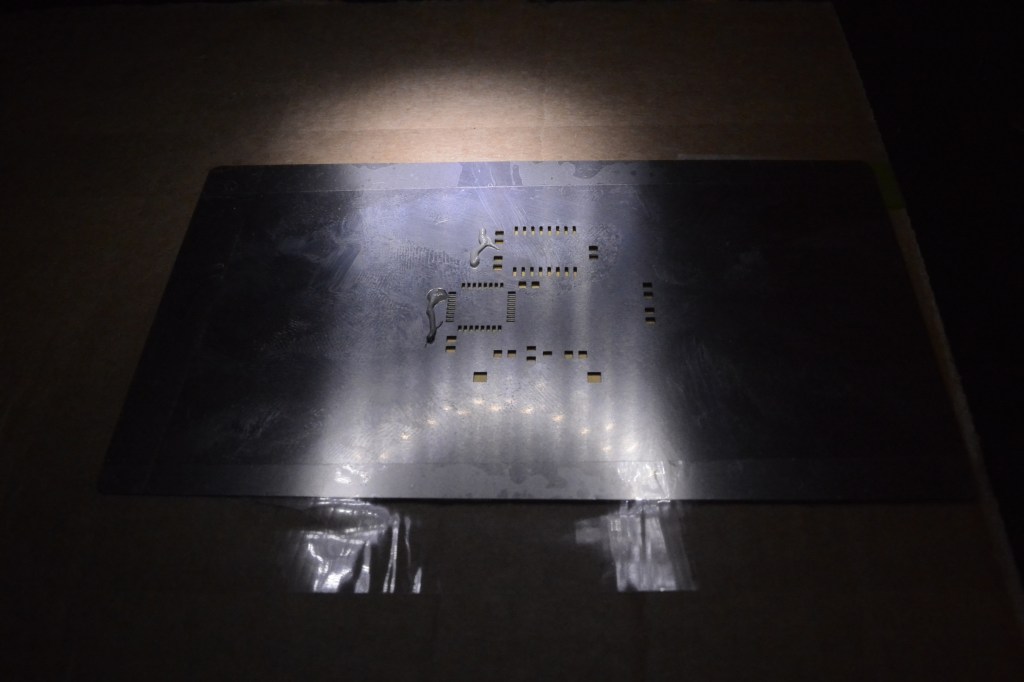
Soldering 64 of 1 mm wide processor leg to the printed layout even using soldering tape and the microscope was a challenge. It turned out that even applying smoothly soldering paste with this precision required several attempts. Anyway, after several minutes in the reflow oven (a more fancy version of an oven to solidify the soldering paste) was ready.
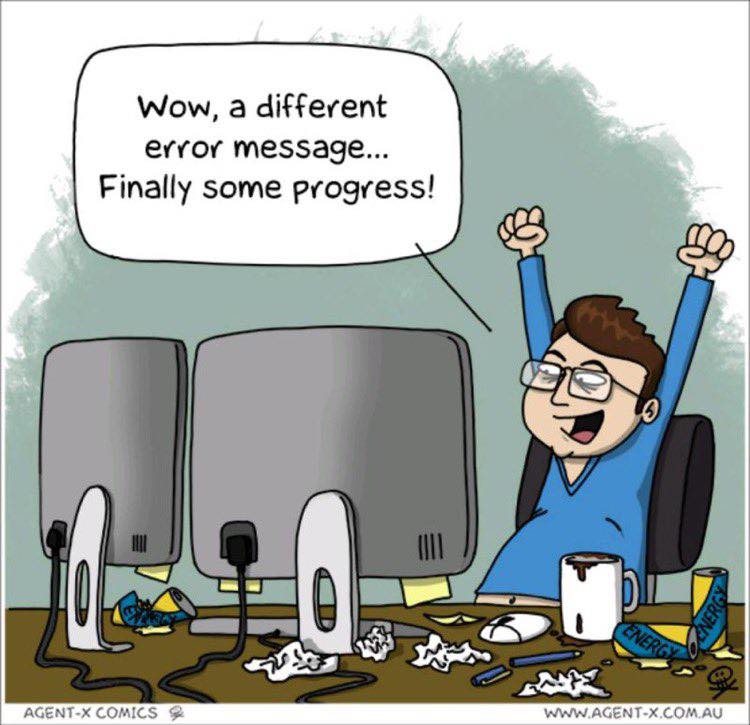
I was pretty excited to first connect to it by Arduino IDE. Tingo sat by my laptop, we connected everything, started the app, and … nothing happen. We checked the cables, and still, nothing. We checked the baud rates, disassembled the connection, and reconnected, checked board schematics, pin layout, the voltage on board, and still, we were getting the same errors over and over again. Now, starting with “bare hardware” is not the easiest thing to do, but if one follows the right instructions it’s doable. Tingo grew suspicious that when trying to install the bootloader the atmega is bricked so we tried to unbrick it. That did not work. We could not even read fuses. We also decided to use different devices for connection: tinyUsb programmer, tutaj finish me. That did not work either. We triple-checked the designs and recalculated the voltage, but still, nothing worked. I did not know where is the problem? My soldering? The design? Atmega?
avrdude: initialization failed, rc=-1
         Double check connections and try again, or use -F to override
         this check.
I wrote an-email to the designer Luke Miller, and to my surprise, he responded by proposing to check the thighs we already checked.
anna:~$ /home/anna/arduino-1.8.5/hardware/tools/avr/etc/avrdude.conf -pm328p -cusbasp -e -Ulock:w:0x3F:m -U efuse:w:0x05:m -U hfuse:w:0xDA:m -U lfuse:w:0xE2:m
avrdude: error: program enable: target doesn’t answer. 1
avrdude: initialization failed, rc=-1
Double check connections and try again, or use -F to override
this check.
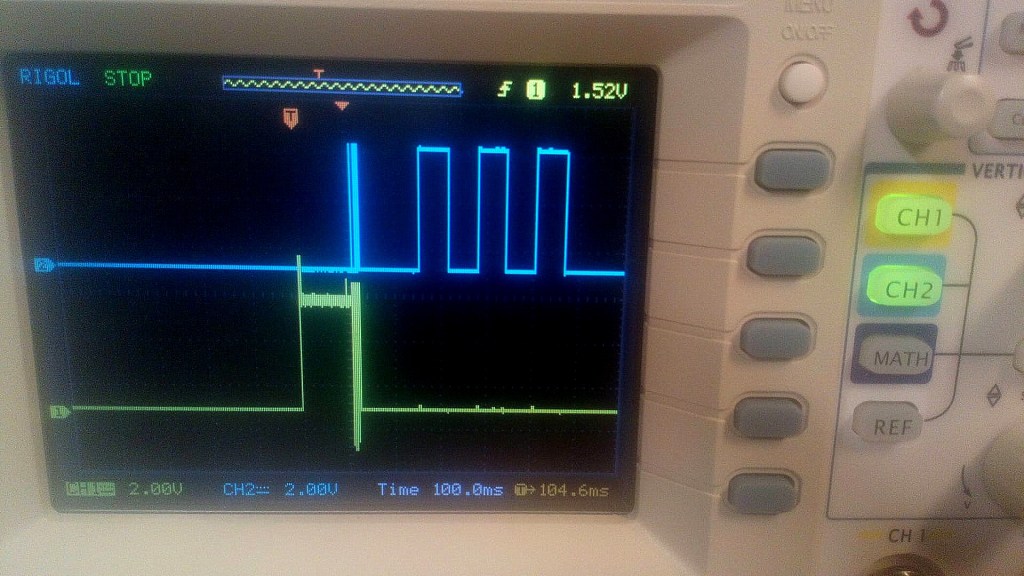
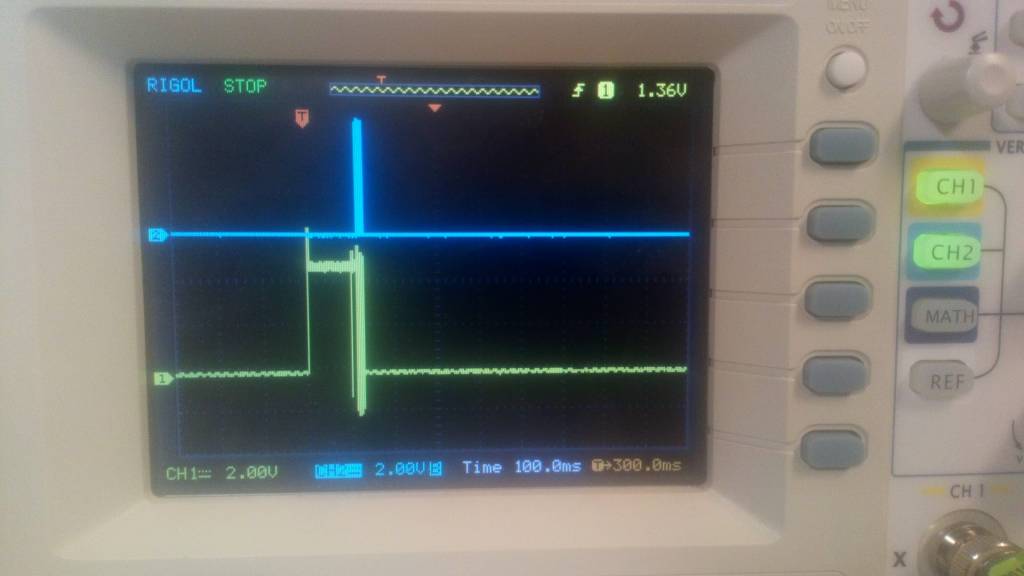
avrdude done. Thank you.Somebody hinted to use an oscilloscope to test if I receive the right signals. Measuring voltage on the 1 mm legs of atmega was not easy but doable. I executed the measurements and compared them to the old atmega based Arduino boards that I knew were working, I could see the difference, but not draw conclusions.
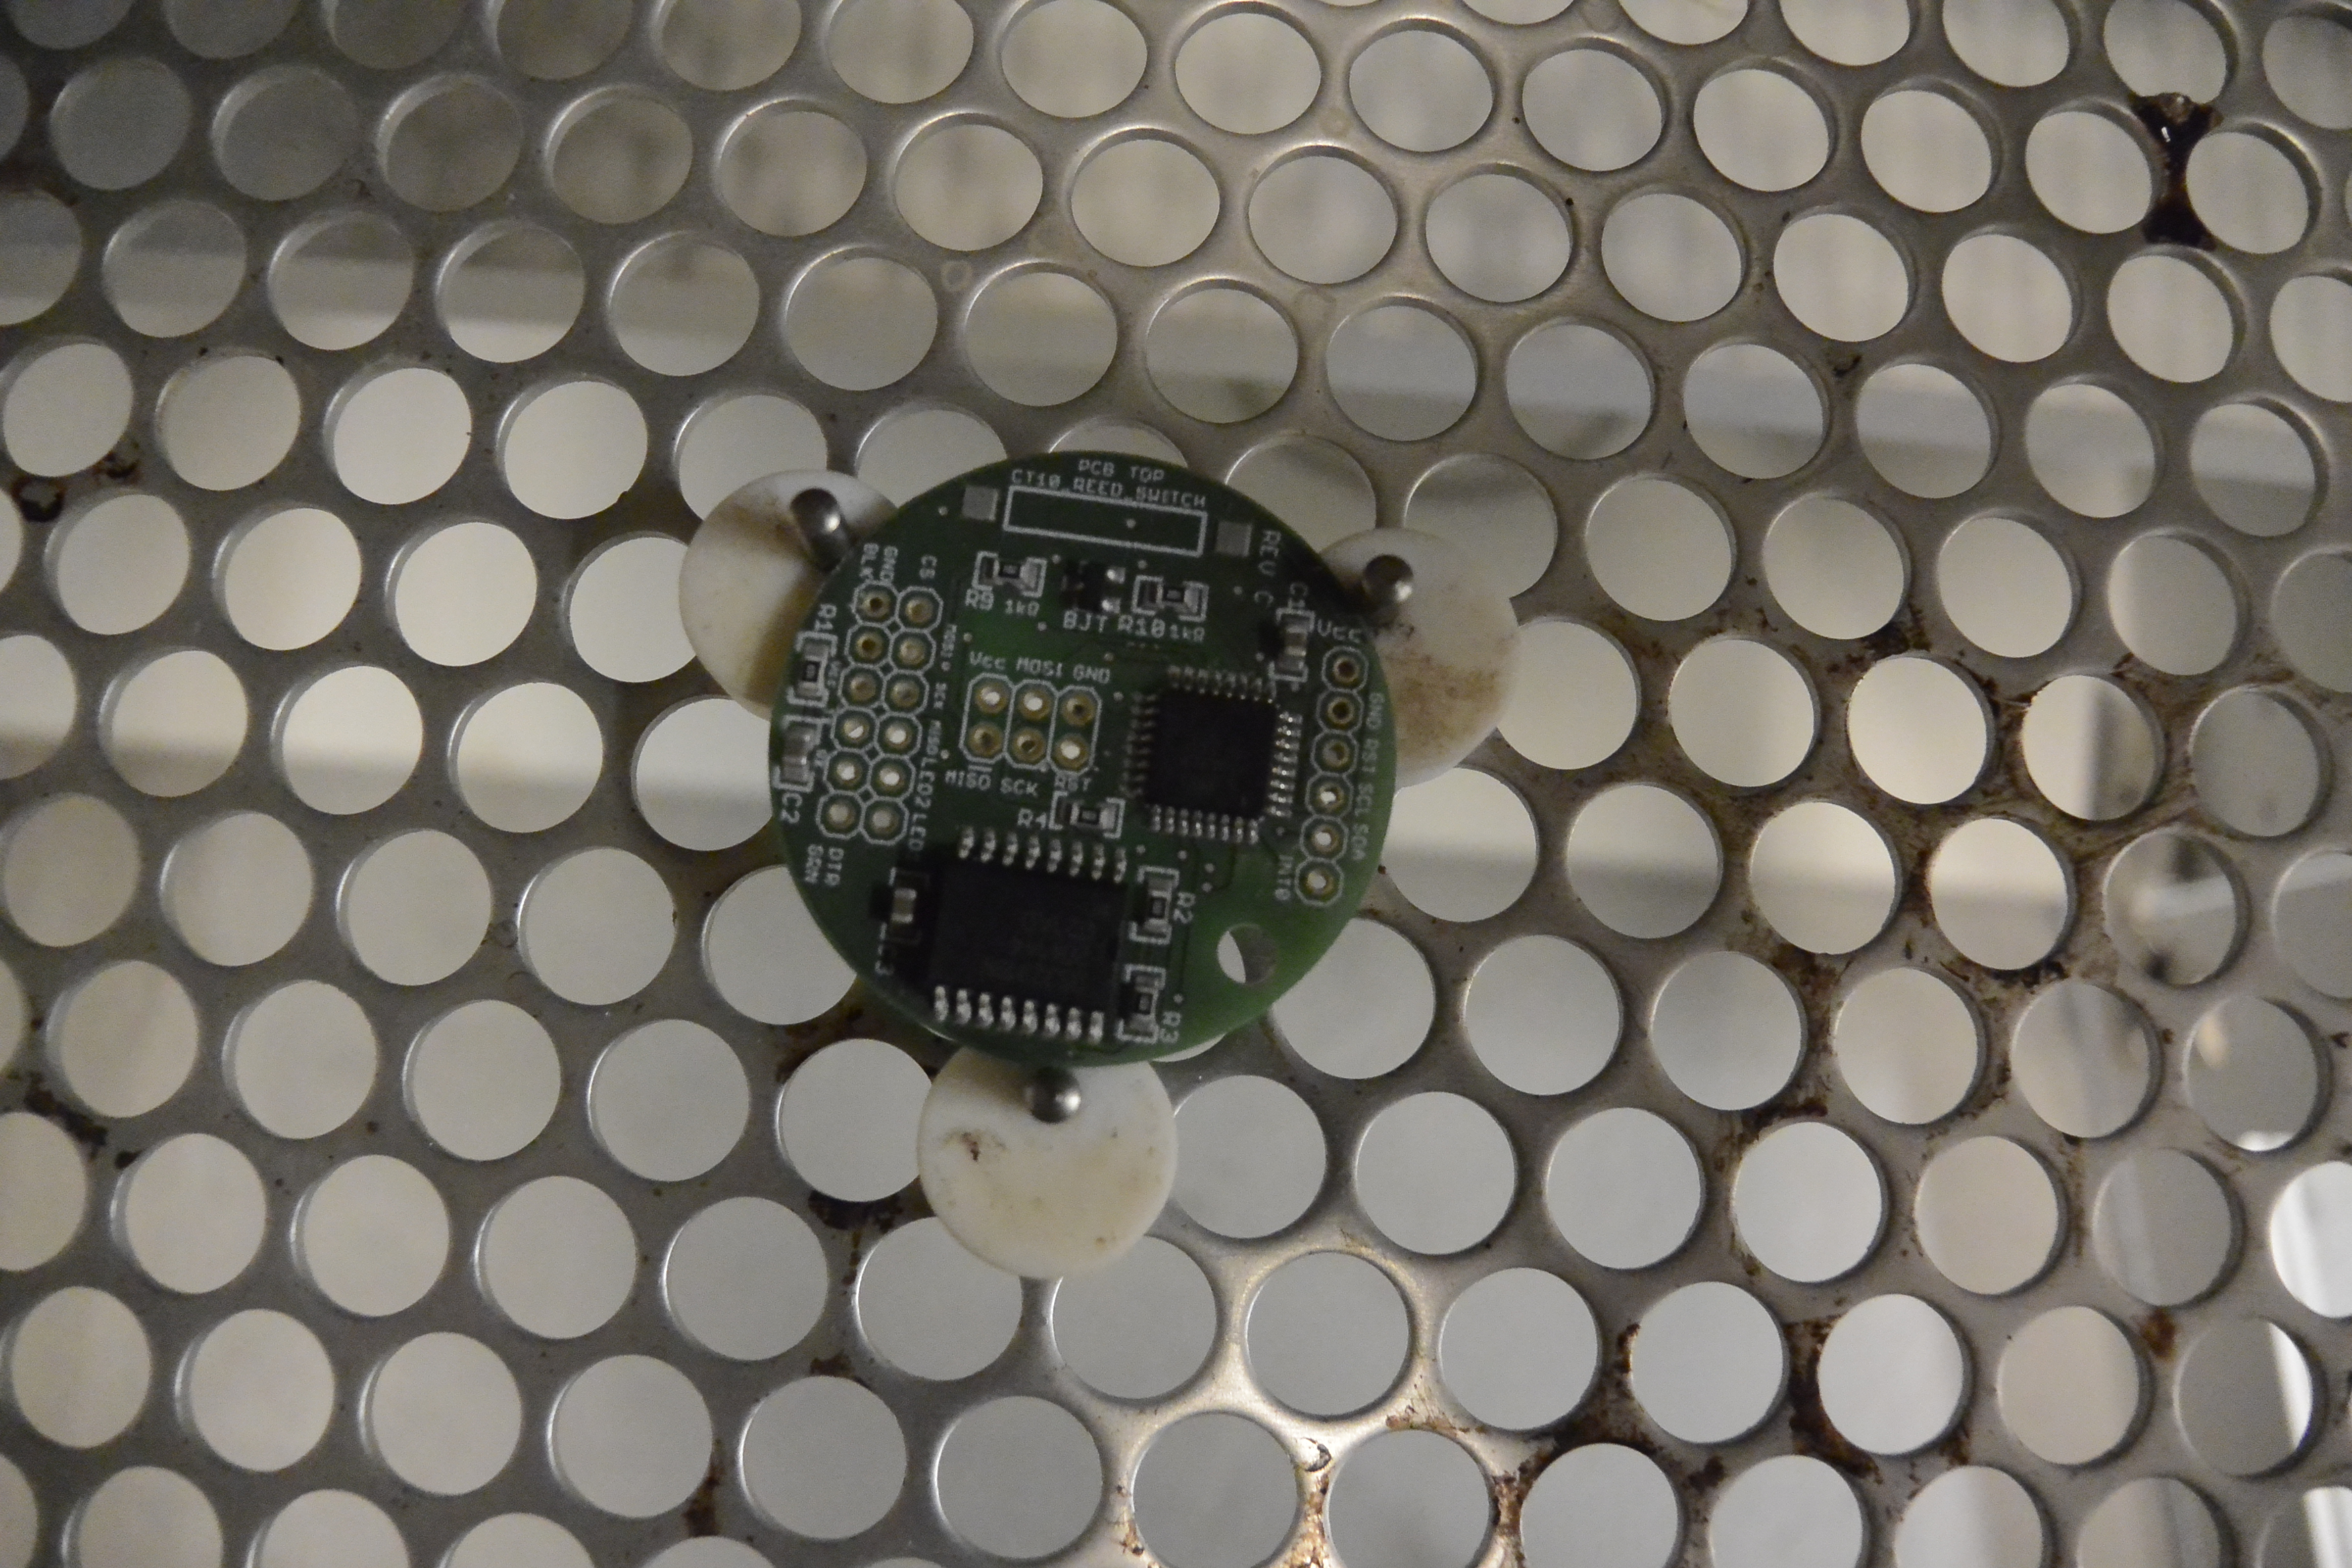
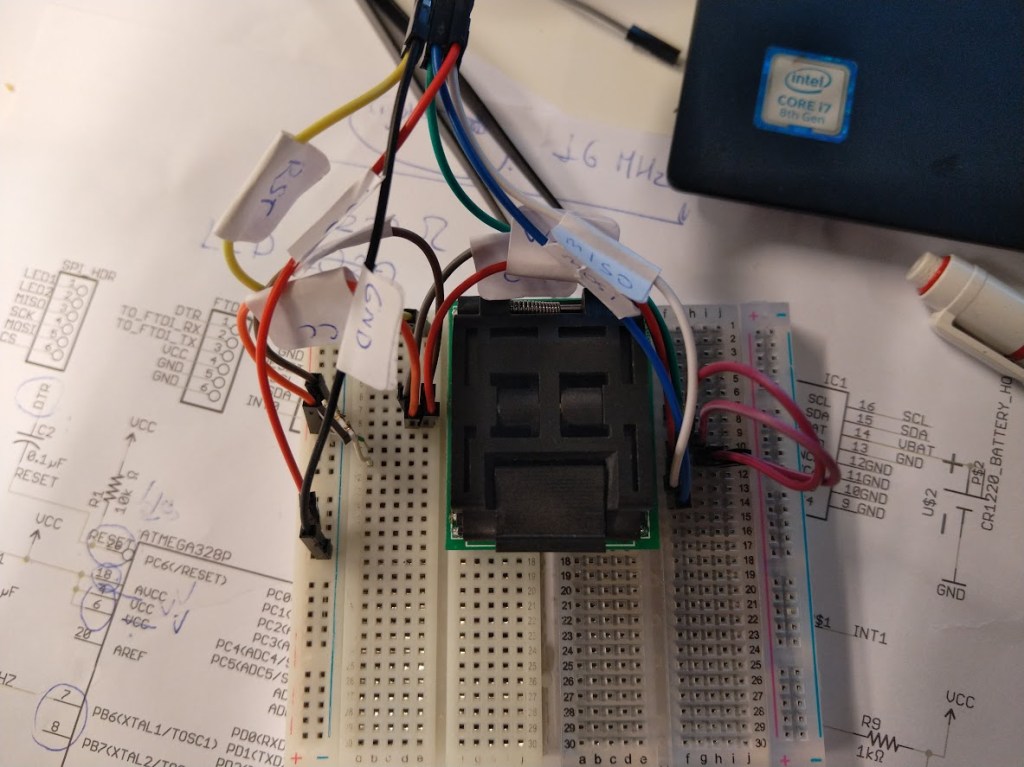
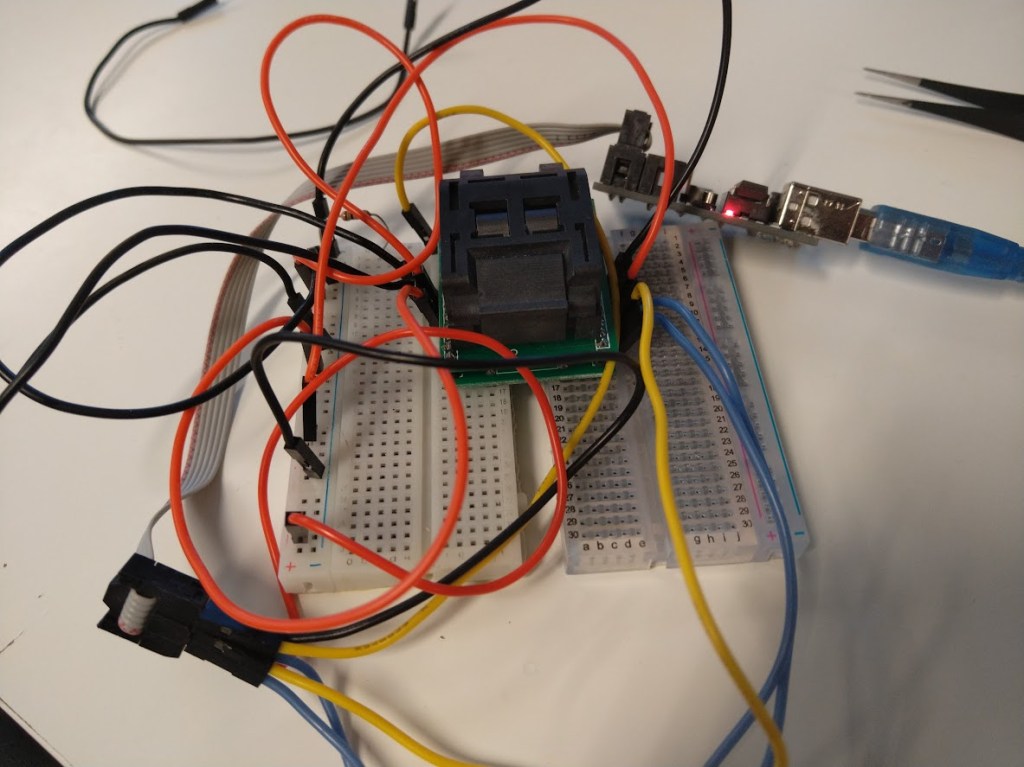
At first, lots of people were willing to help but at a certain point the advice would repeat, I would not progress, and people slowly, one by one would stop answering questions and returning e-mails. I asked the spark fun forum only to get the same tips we already followed. One of my work friends, Andy, hinted to me that there are such things as “break out boards” that allow for creating a wired prototype of the board, a “Frankenstein” version of the project just to make sure it actually works. I did have a working atmega from an old Arduino board. After some long googling I found and bought an SMT test socket.
The real power of Bitraf is not just equipment, but the people that make this place alive. I met Dag and Jensa, experienced, passionate guys with who I could discuss my project. Dag was like a bottomless testing idea generator. Jensa had a very practical approach. He would point out, that these days, even as much as 20% of Chinese cables (yes it’s not a spelling mistake) are not working. He also decided to re-create my setup, he used his tiny-USB device to connect to the board, and …. magically the atmega responded!
2 guilty were found: the atmega (yes) and the device I was using to talk to atmega from my laptop. About atmega I was not surprised, I was already suspicious, just needed proof. But a “cable”? For some weird reason, some boards would work with USB tiny, and some wouldn’t. Don’t ask me, just the behavior I have observed
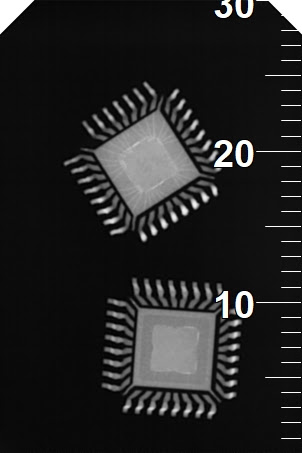
From now on things got smoother. Another person at Bitraf – Elias told me they have some stashed original atmegas in one of the million boxes in Bitraf – so I had my supply and I could assemble more boards. I was still curious what could I do to prevent it? I read somewhere that an actual X-ray would be needed to figure out the real or fake atmega. While visiting my dentist, I asked her for a favor. She was cool to X-ray my chips wondering what dose of radiation she should use (used the one for kids) – here are the results. Which one would you guess is the real, which is the fake one?
I am not electronics engineers so I cannot know if the atmega could be counterfeit or knot. My dentist used medical x-ray not the technical x-ray if they exist – so we also cannot know for sure. All i know is that the device was not responding, the osciloscope results would be different from working atmega.
Through all my practice I have learnt that the signatures of working ATmega were:without bootloader E:07 H:D9 L:62 after successful booltader load E:05 H:D7 L:E2 -
Bitraf
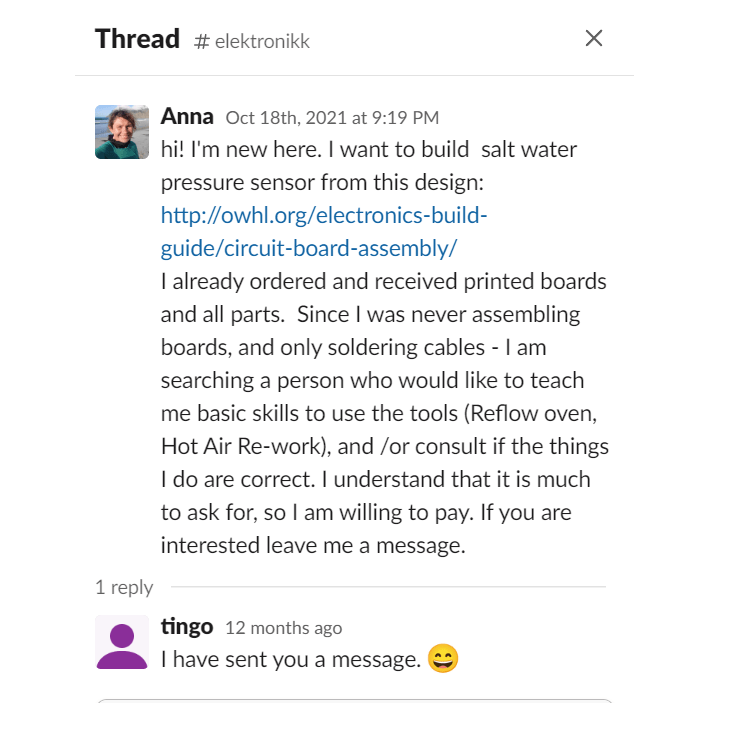
I was slowly receiving my orders, but at the same time I was still pretty overwhelmed with the whole project and the idea and I knew would need to assemble it all somehow. Some people would warn me that it’s complicated or “ambitious” but I would blissfully try to ignore it. “Doubt kills more dreams than failure ever will” I would repeat to myself and just try to stick to more hopeful people. Since I was still pretty stoked about the whole idea I kept on talking about it to whoever was willing to listen. One of my work colleagues told me if I should check out Bitraf. The name did not tell me much, so at first, I ignored it and visited the local hackerspace instead. When hacker space guys also directed me to the neighborhood place Bitraf I finally decided to give it a go. On one of those rainy autumn evenings, I showed up in a graffiti alternative part of Oslo, just to discover the maker space had all that I needed, most importantly the “electronics room”.
I have posted a message on the club communication channel. I did not wait long before I got the one response. That’s how I met Tingo.
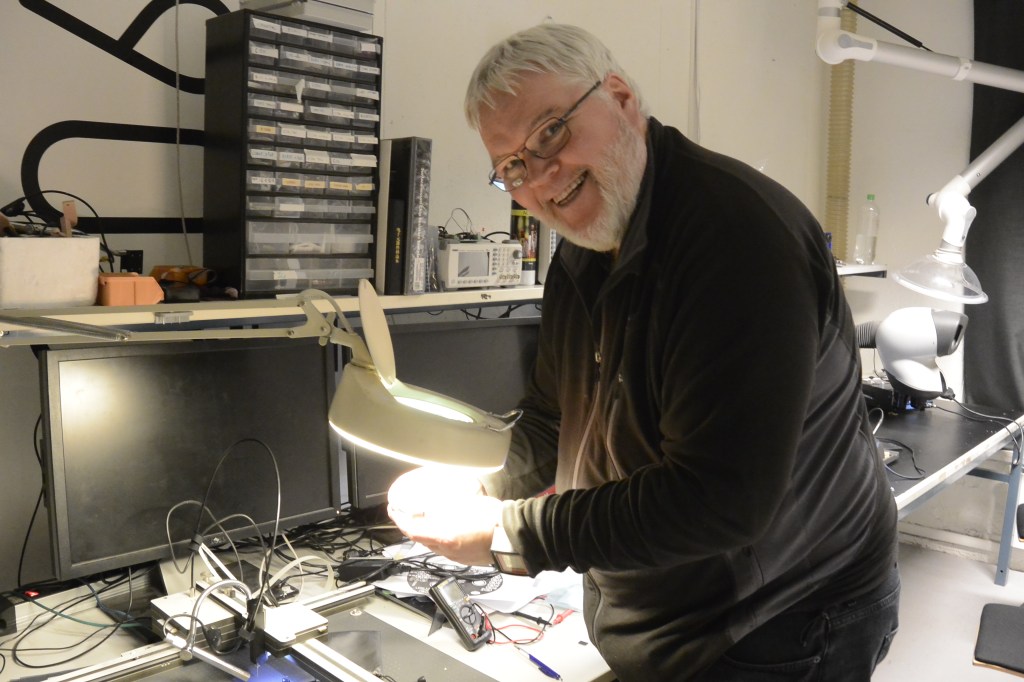
Tingo, an electronician who at this time had some spare time and was a Bitraf regular, became a kind of godfather of the project – spending an insane amount of time educating me about electronics. We started with finalizing the shopping list; he showed me pages such as https://octopart.com/ exist – a site checking the availability of components at different retailers. He taught me how to read the data sheets, showed me how to use the tools I needed – the reflow oven, and the air-suck machine, and he was judging my soldering and telling me to always check the device with a multimeter.
Tingo


-
Subscribe
Subscribed
Already have a WordPress.com account? Log in now.
